Setting up Google Login
Let users log in with their Google Account in one click
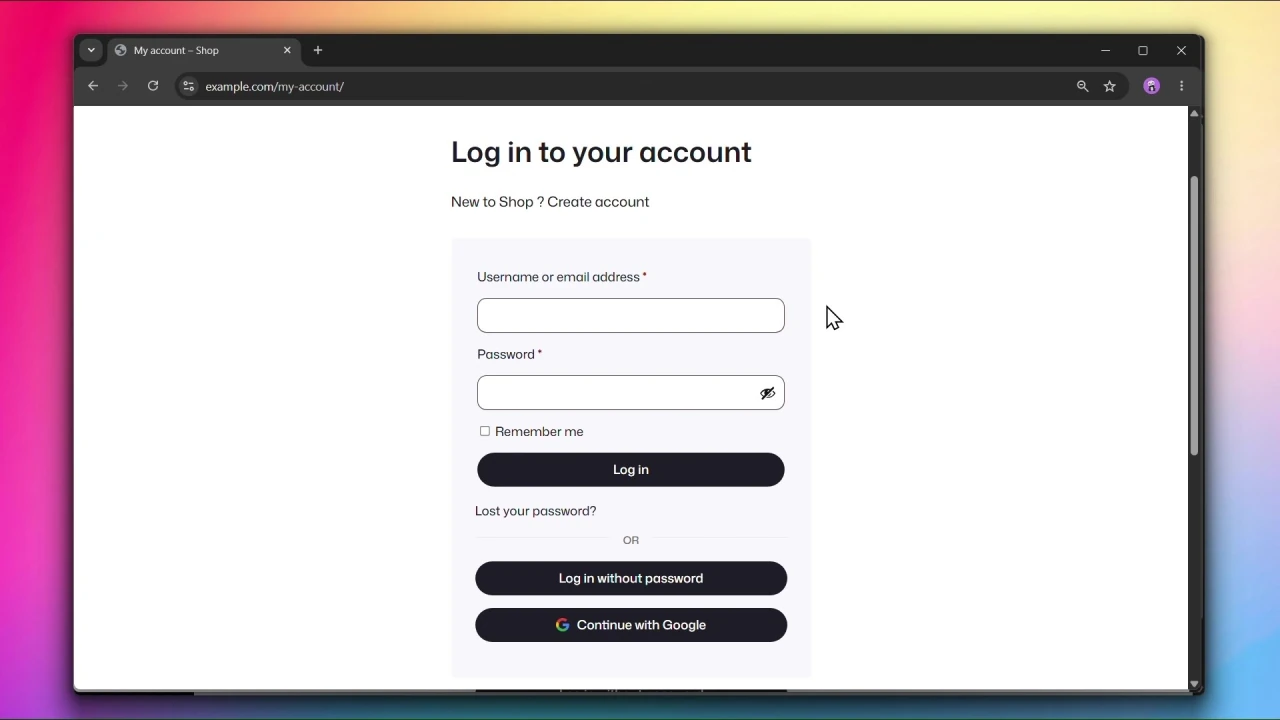
Sign in with Google allows users to log in to your site using their Google Account, providing a seamless one-click login experience.
How it works
When a user clicks Sign in with Google, they are redirected to Google’s consent screen where they grant your site access to their basic profile information. The plugin requests only the following scopes:
userinfo.email— to read the user’s email address.userinfo.profile— to read the user’s basic profile (name).
Once the user authorizes, Google returns their email address and profile to your site. The plugin then looks for an existing WordPress user account with a matching email address and logs them in. No account linking is performed — the email must match exactly. If no matching account is found and Registration is enabled, a new account is created.
Because the plugin only uses basic, non-sensitive scopes, Google does not require app verification for this integration.
Before You Start
You will need a Google Cloud account to create an OAuth 2.0 Client ID and Client Secret. Go to console.cloud.google.com to get started.
Accessing Google Login Settings
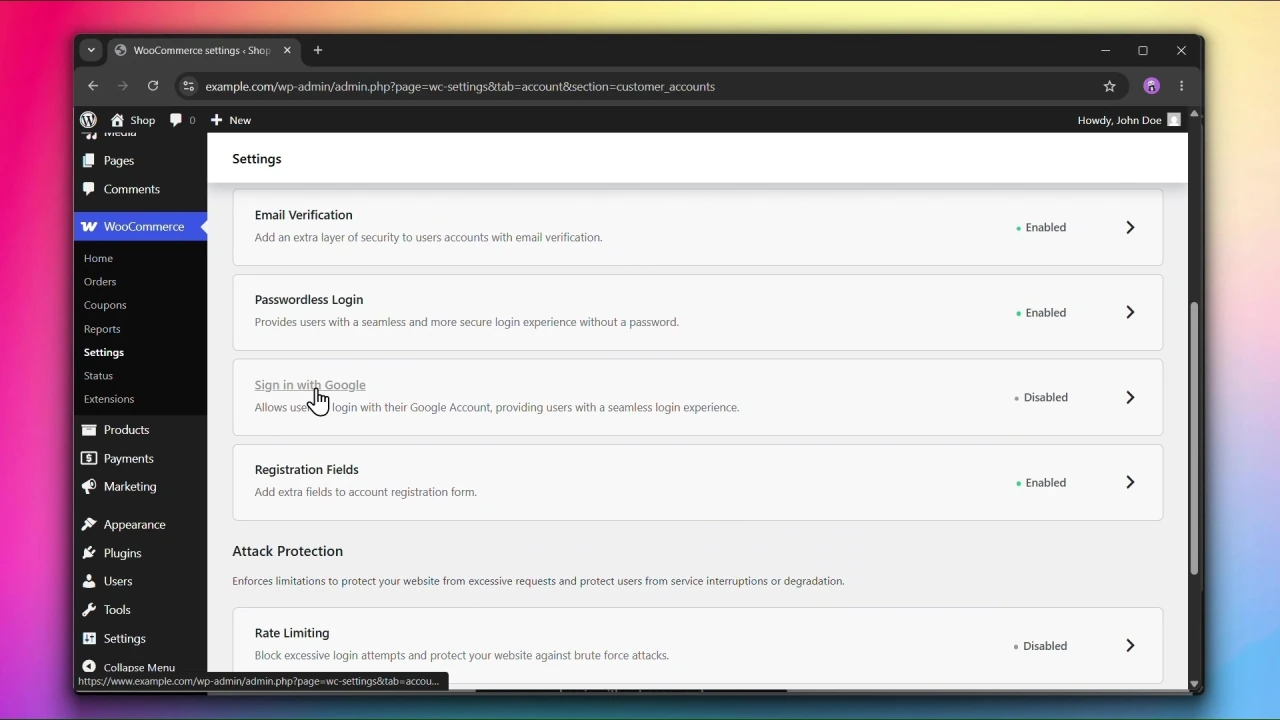
Go to WooCommerce > Settings > Accounts & Privacy > Customer Accounts and click on Sign in with Google.
Steps
Setting up Google Login involves several steps in the Google Cloud Console. We’ve recorded a complete walkthrough to guide you through the process. Watch the video above before getting started.
Step 1: Create a Google Cloud project
- Go to the Google Cloud Console and create a new project if you don’t have one.
- From the left sidebar, go to APIs & Services > OAuth consent screen (now called Google Auth Platform).
- Set the User type to External and click Create.
- Fill in the required app information (app name, support email).
- Under Scopes, confirm that the following are included (they are added by default):
.../auth/userinfo.emailand.../auth/userinfo.profile.
Do not add additional scopes beyond these two. Adding sensitive or restricted scopes triggers a Google verification process that can take several business days.
Step 2: Create an OAuth 2.0 Client ID
- Go to APIs & Services > Credentials.
- Click Create Credentials > OAuth Client ID.
- Set the application type to Web application.
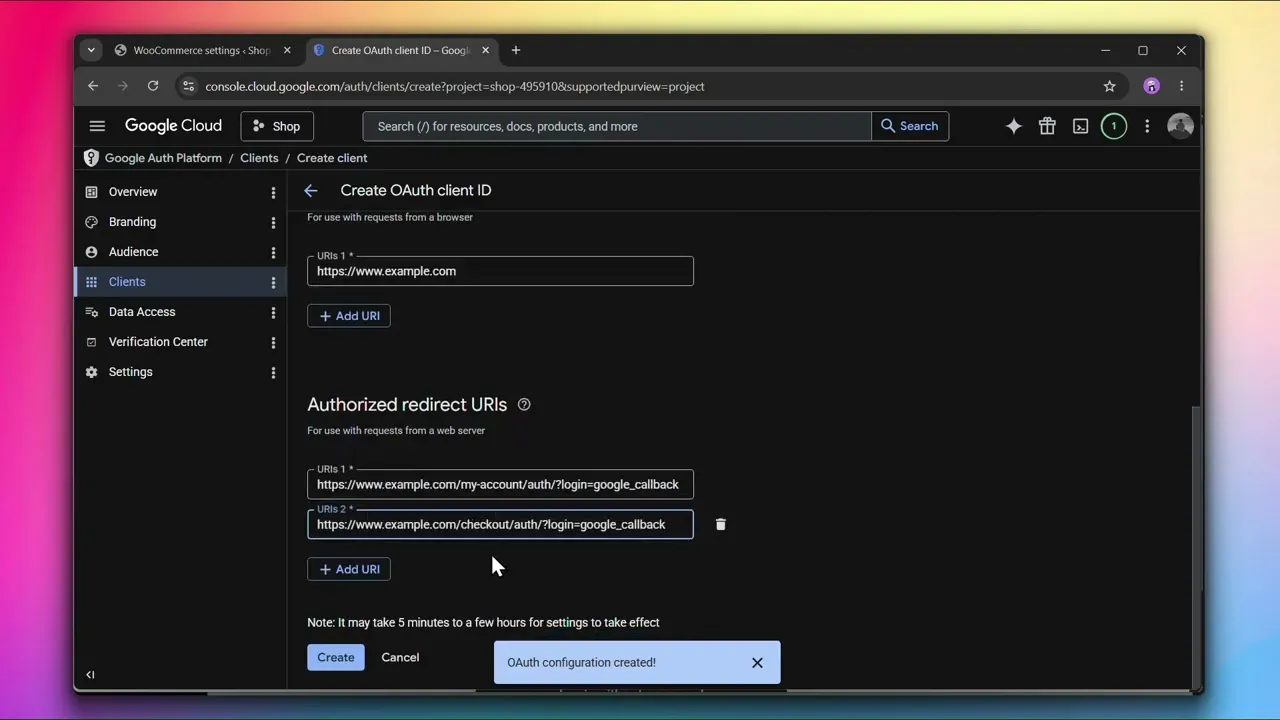
- Under Authorized redirect URIs, add both URIs shown in your plugin settings page.

The URIs will look like this:
https://www.example.com/my-account/auth/?login=google_callback
https://www.example.com/checkout/auth/?login=google_callback- Click Create. Copy the Client ID and Client Secret shown in the dialog.
Step 3: Enable Sign in with Google
In your WordPress admin, under Sign-in with Google, check Enable login with Google.
Step 4: Enter your Client ID and Client Secret
- Paste your Client ID into the Client ID field.
- Paste your Client Secret into the Client Secret field.

Step 5: Configure Registration (optional)
Under Registration, check Create a new customer account if it does not exist already if you want new users to be automatically registered when signing in with Google for the first time.
This only creates accounts if Account creation is also enabled under WooCommerce > Settings > Accounts & Privacy.
Step 6: Click Save changes
Click Save changes to apply your settings.
Important notes
Warning: If you change the Authentication endpoint in Customizing Account & Checkout Endpoints, your redirect URIs will change. You must update them in the Google Cloud Console or the login flow will break.
The Google consent screen shows your app name and domain to the user. It is recommended to configure your app’s branding in the Google Auth Platform console to improve trust with your users.