Enabling Modern Login Experience
Separate login and registration pages to create a more modern login experience
The plugin offers two login experiences for your account and checkout pages. This page explains the differences and how to enable the modern experience.
Modern Login vs. Default Login
Account Page
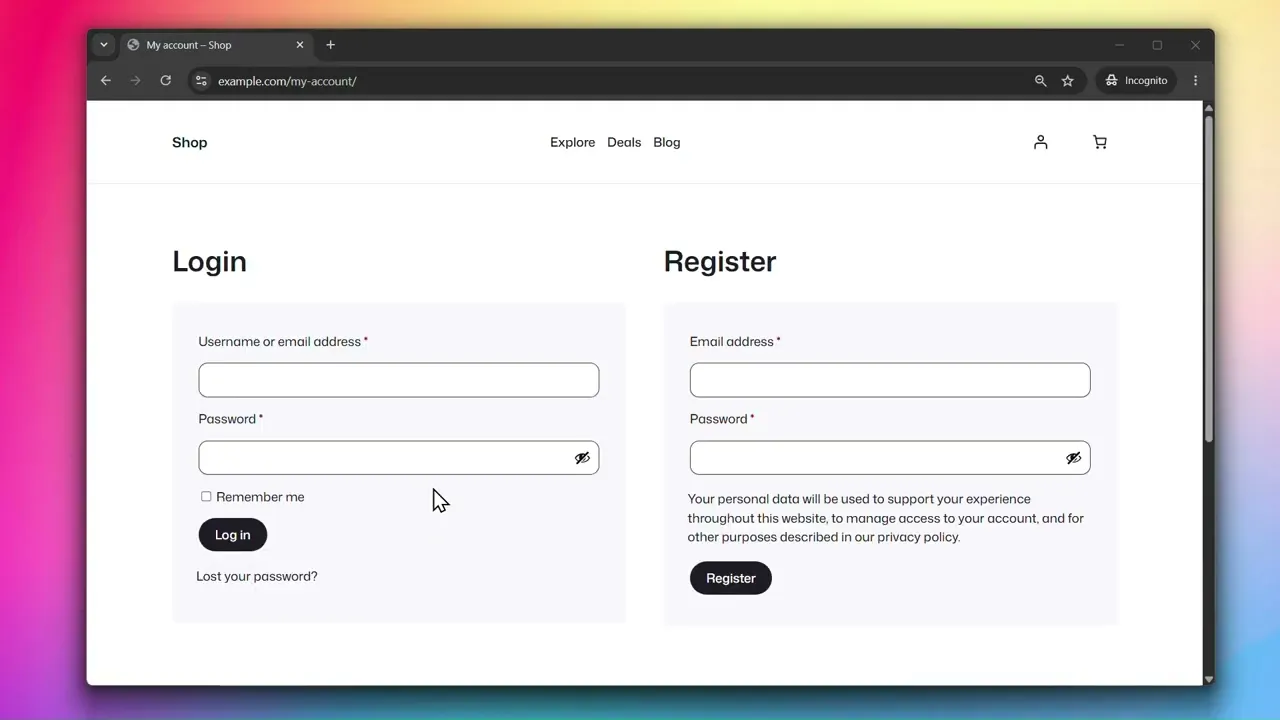
With the Default Login, the login and registration forms are combined on a single page — the WooCommerce default experience.

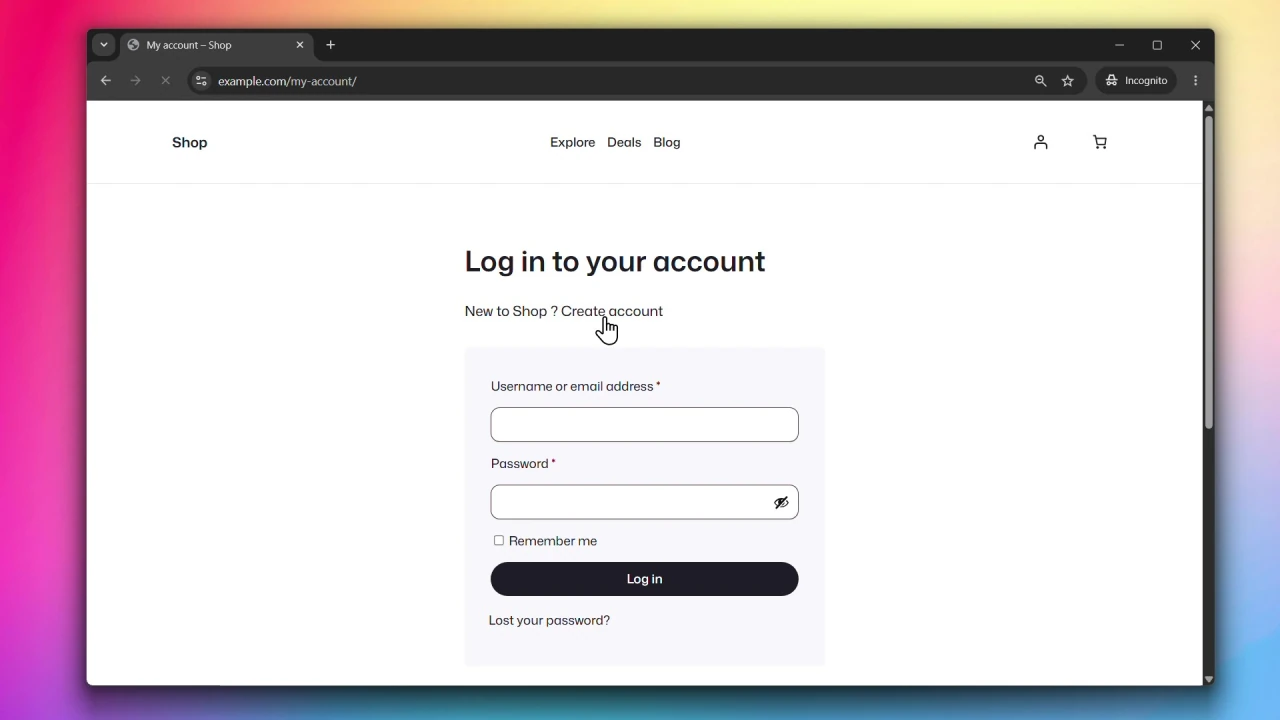
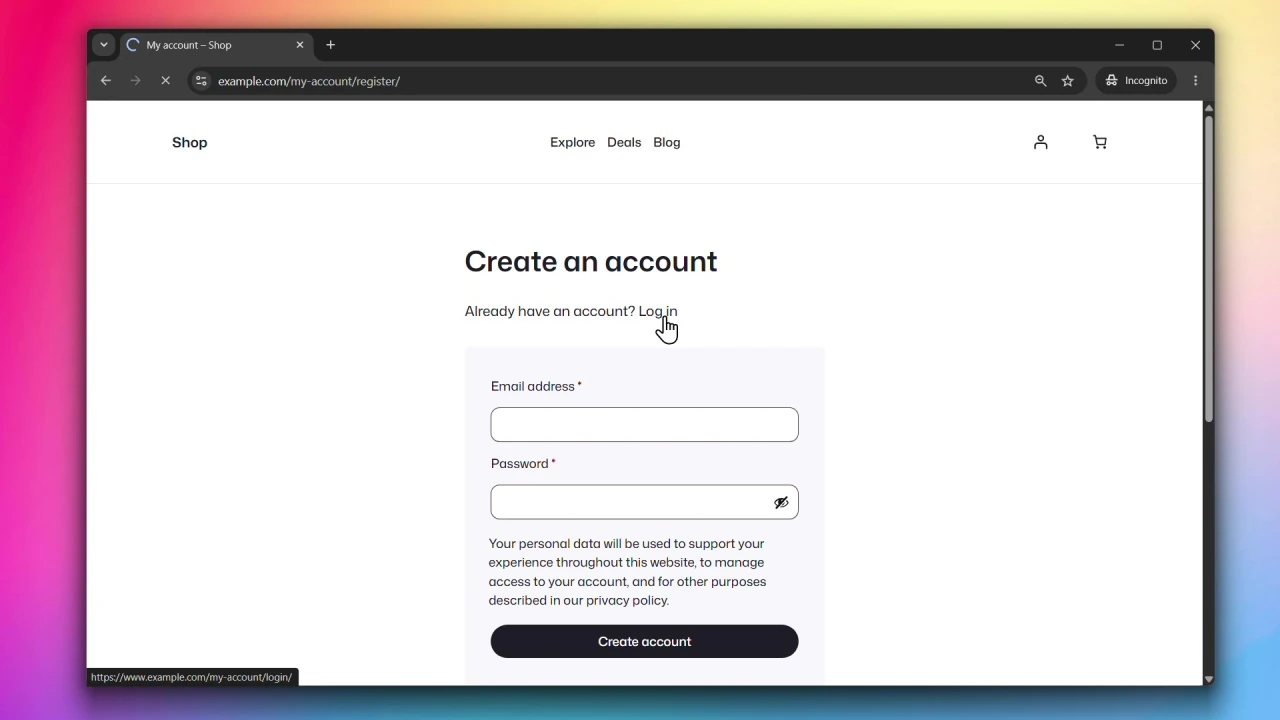
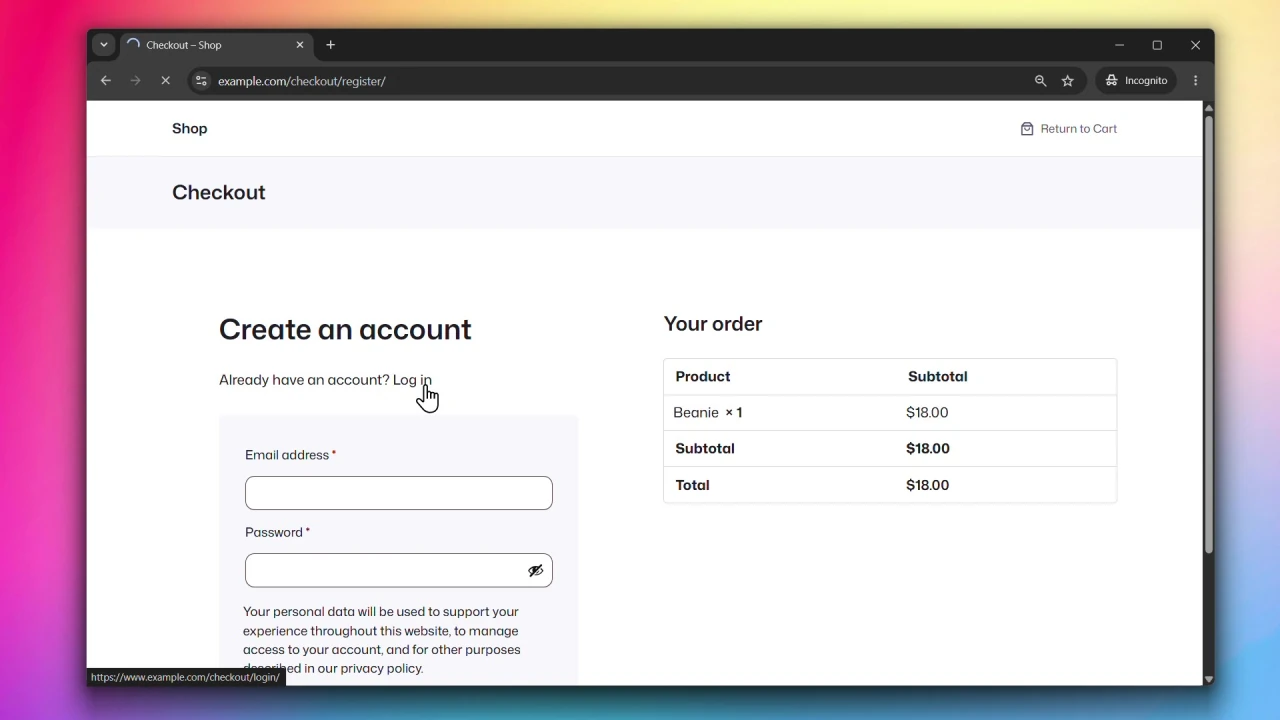
Modern Login separates them into two distinct pages, each with its own URL (/my-account/login/ and /my-account/register/), giving users a cleaner and more focused experience.
Checkout Page
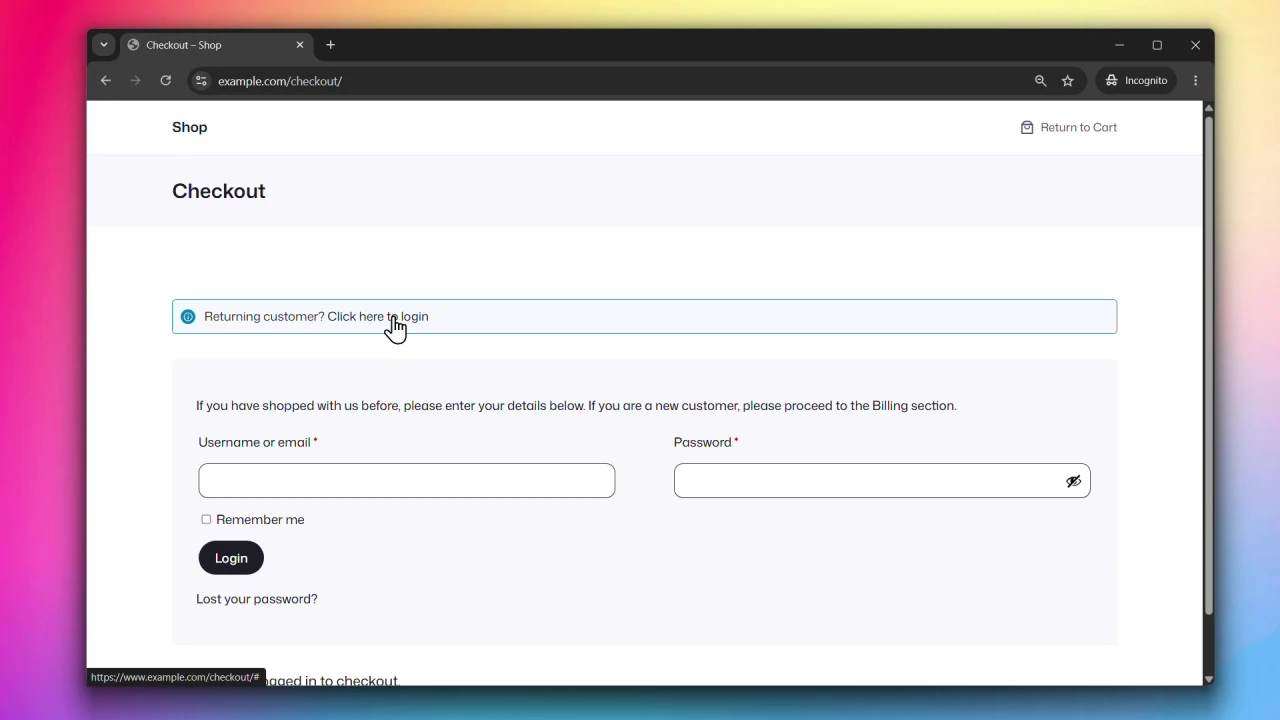
With the Default Login at checkout, users see the standard WooCommerce checkout form with an optional login prompt at the top.
Modern Login at checkout presents a dedicated login or registration screen alongside an order preview, so users can see what they’re purchasing while signing in. Once authenticated, they proceed directly to complete the checkout.
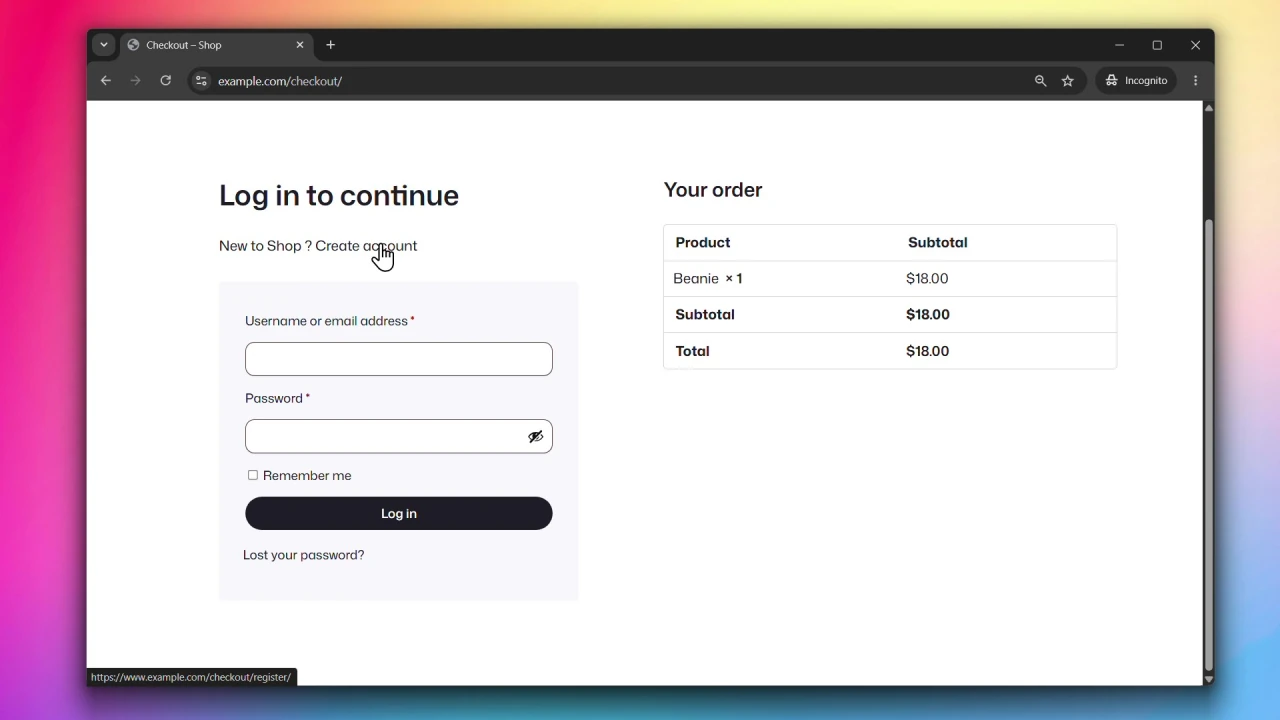
The checkout Modern Login experience currently supports the Classic Checkout only. Block checkout support is coming soon.
Why use Modern Login?
Separating login and registration into distinct pages gives users a cleaner, more focused experience. On checkout, showing an order preview alongside the login or registration form reduces drop-off by keeping users informed of what they’re completing.
Modern Login adds an extra layer of protection against spam orders — the checkout form is only shown after the user is logged in. Combined with Rate Limiting and Cloudflare Turnstile, it helps prevent brute force attempts on your authentication forms.
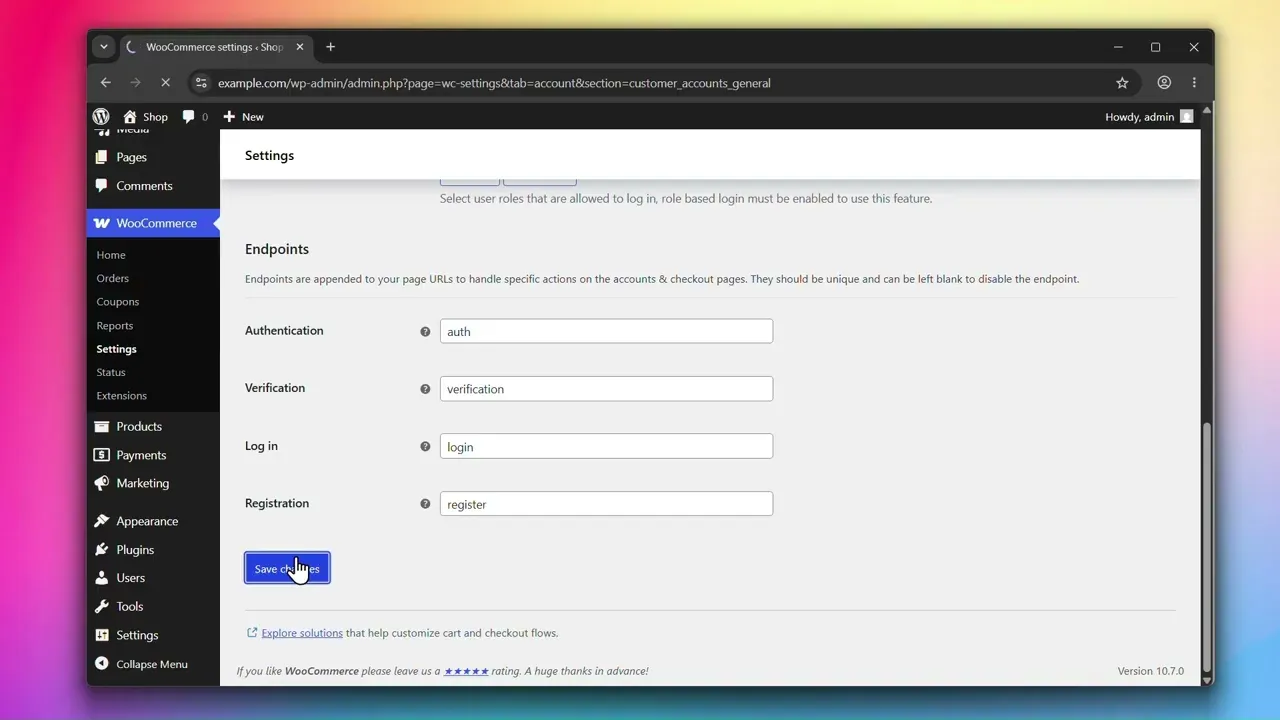
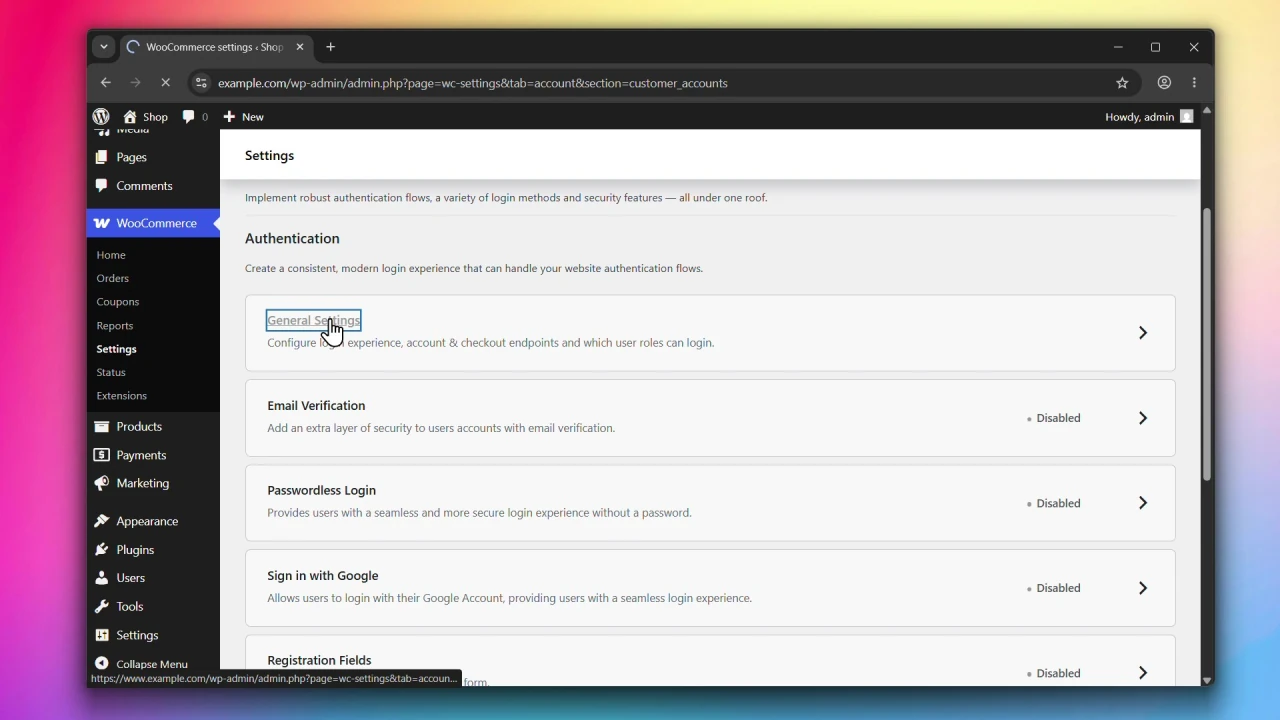
Accessing General Settings
Go to WooCommerce > Settings > Accounts & Privacy > Customer Accounts and click on General Settings.
Steps
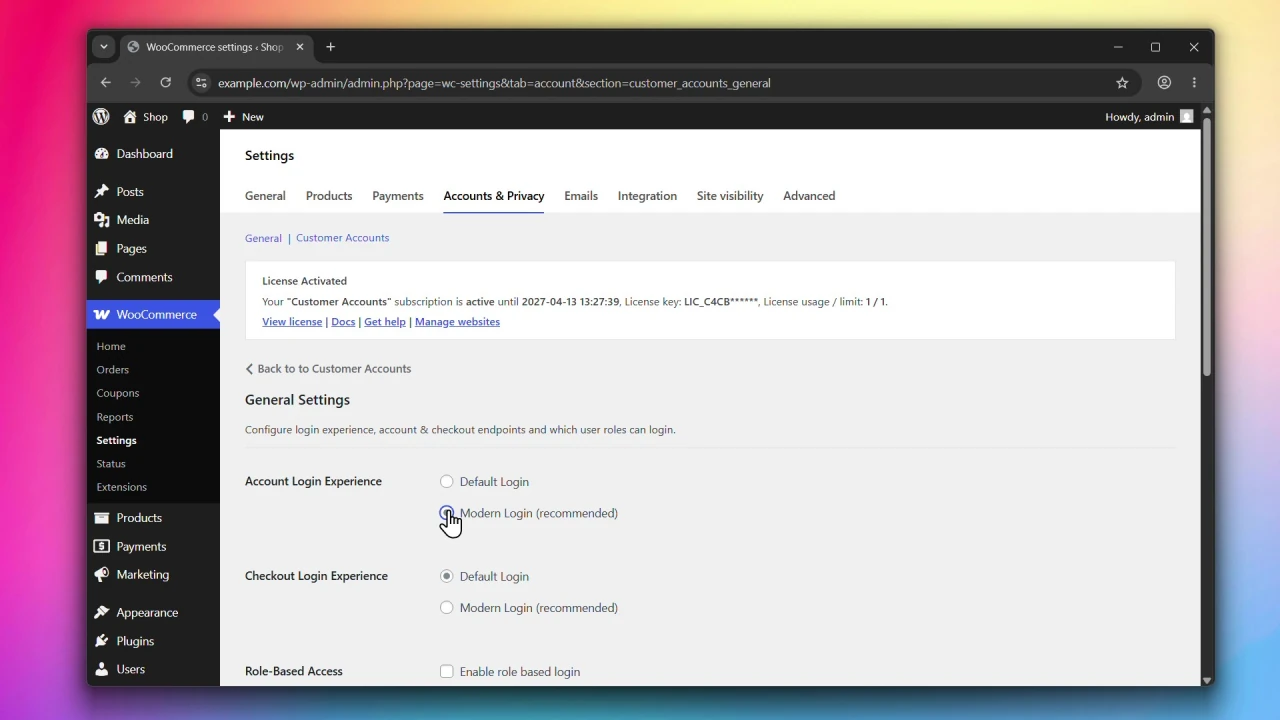
Step 1: Set the Account Login Experience
Under Account Login Experience, choose one of the following:
- Default Login — login and registration on a single page, the WooCommerce default.
- Modern Login (recommended) — login and registration on separate pages with dedicated URLs.
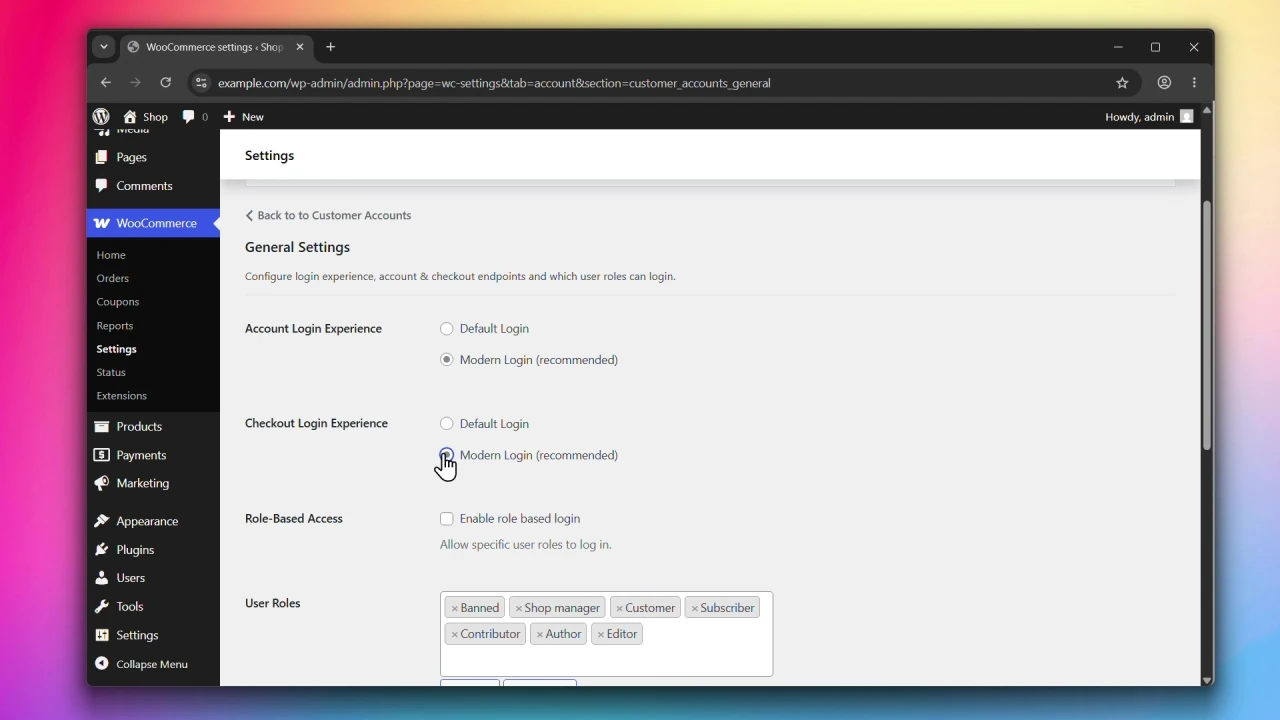
Step 2: Set the Checkout Login Experience
Under Checkout Login Experience, choose one of the following:
- Default Login — standard WooCommerce checkout login.
- Modern Login (recommended) — shows a login or registration form alongside an order preview. Once logged in, the user proceeds to complete the checkout.
Step 3: Click Save changes
Click Save changes to apply your settings.
What’s next?
- To restrict login to specific user roles, see Enabling Role-Based Access.
- To configure endpoint URLs, see Customizing Account & Checkout Endpoints.