Installing the Plugin
Step-by-step guide to downloading and installing Customer Accounts for WooCommerce
When you want to install Customer Accounts for WooCommerce, you need to download the plugin, install it, and activate the license key.
WooCommerce is required. Before installing, make sure your site meets the requirements and compatibility listed on the Customer Accounts for WooCommerce plugin details.
Installing the Plugin
Step 1: Log in to your Cartsera account and go to Licensing
In your Cartsera account, click on Licensing from the sidebar.
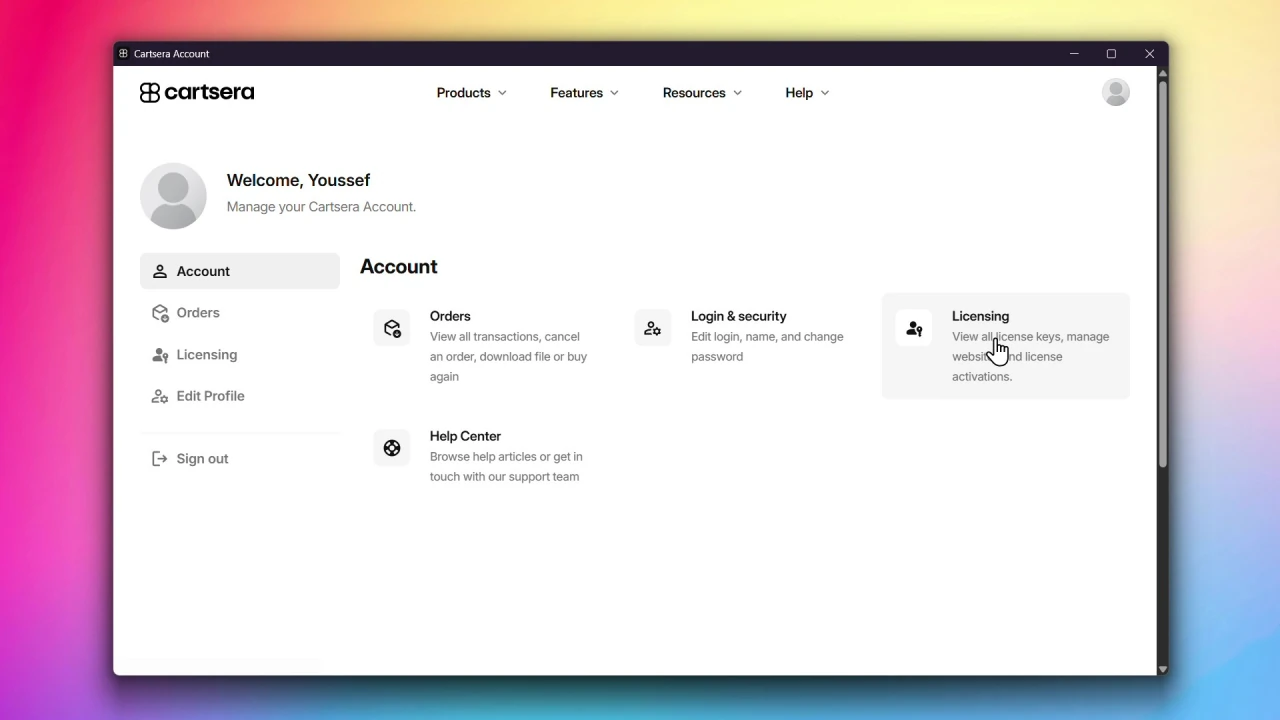
Step 2: Download the plugin
Find your Customer Accounts for WooCommerce license and click Download to start the .zip download.

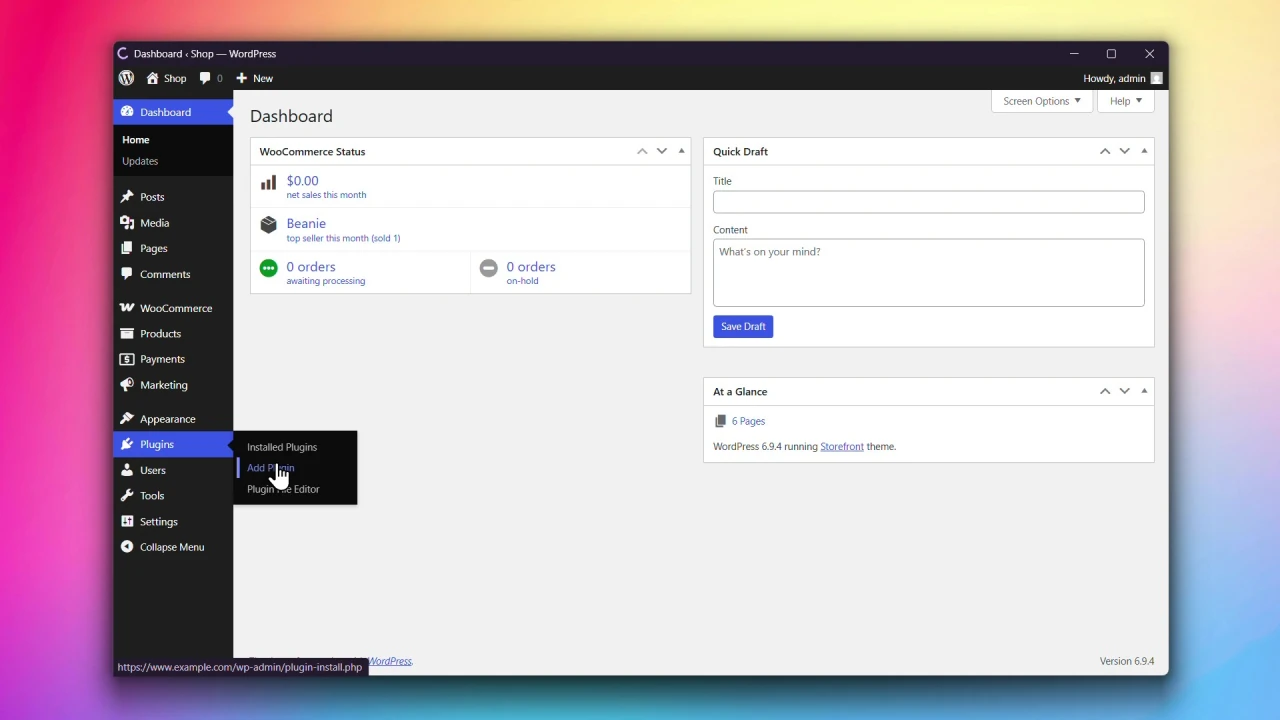
Step 3: Log in to your WordPress website
When you log in, you will be in your Dashboard.
Step 4: In the Plugins menu, click Add New Plugin
Navigate to Plugins > Add New Plugin from your WordPress dashboard.
Step 5: Click Upload Plugin at the top of the screen
The screen will expand with the option to upload plugins.
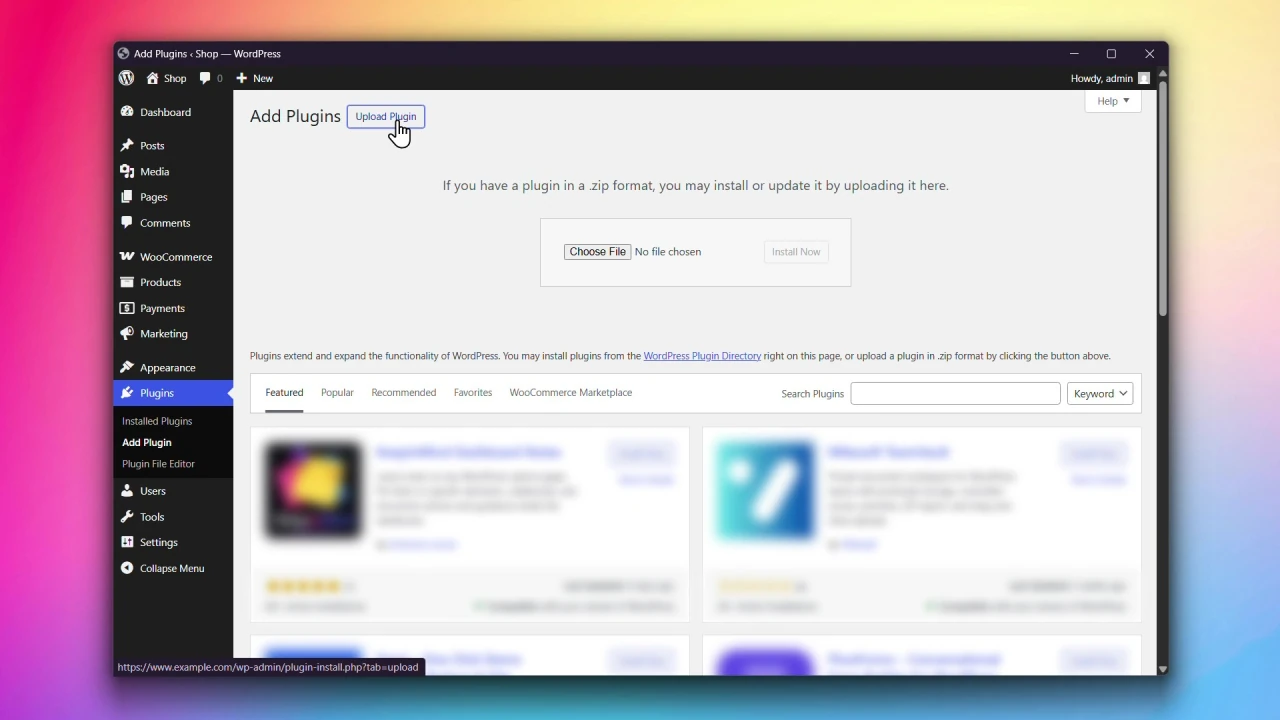
Step 6: Upload the plugin and click Install Now
In the Add Plugins screen, click on Choose File and upload the .zip file. Click on Install Now to install the plugin; this may take some time.

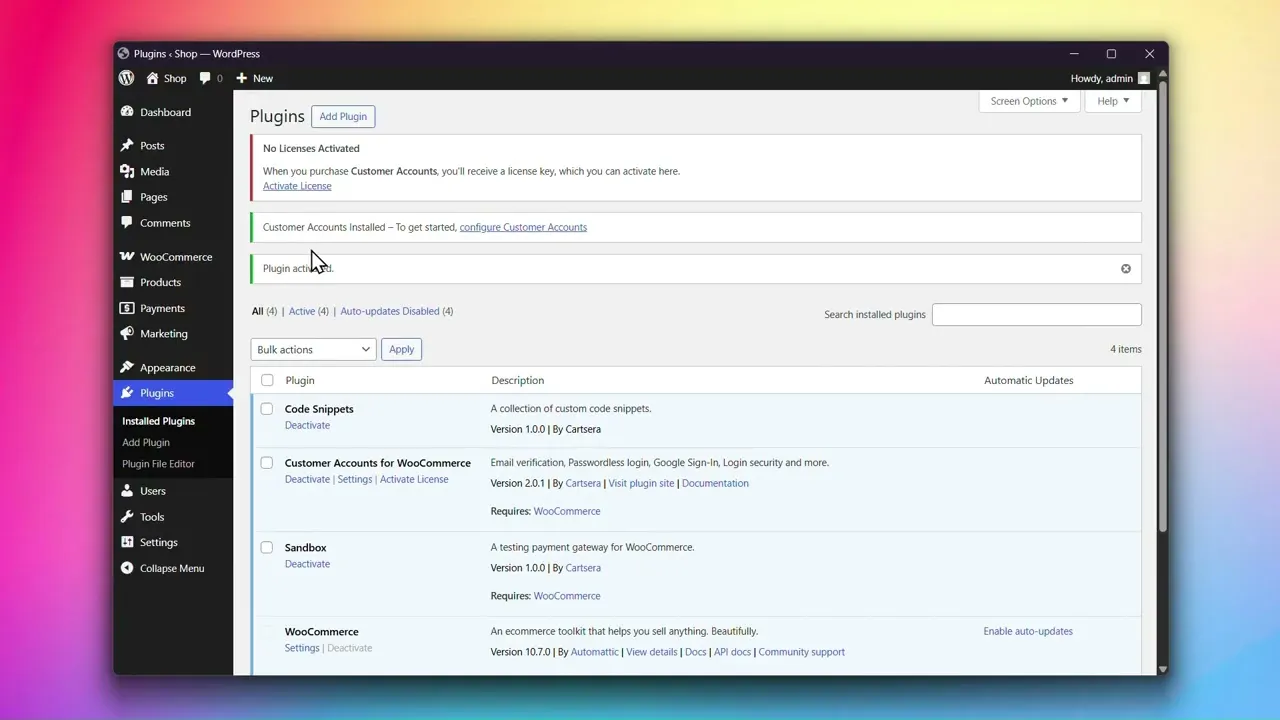
Step 7: Click Activate Plugin
After installing the plugin, click on Activate Plugin to complete the installation.
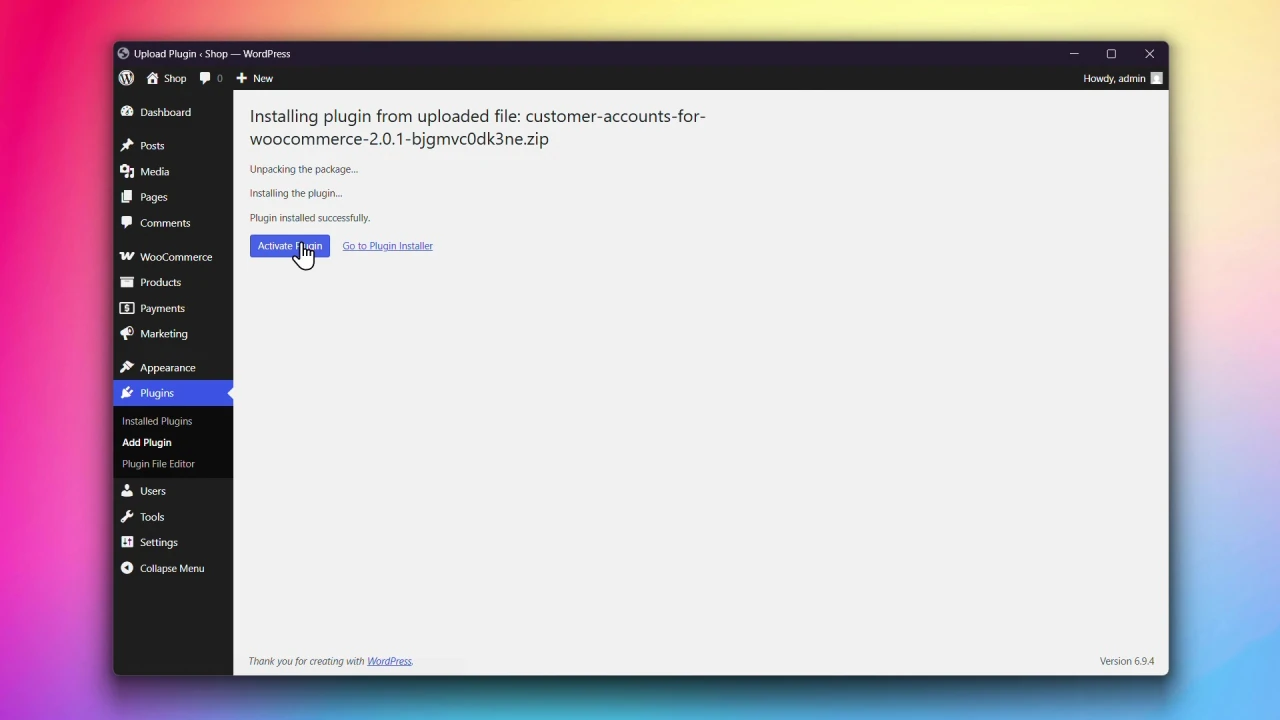
Congratulations! You’ve successfully installed Customer Accounts for WooCommerce on your website.
What’s next?
Make sure to activate your license to receive plugin updates and access all features. Click here to learn how to activate your license.
On this page
- Installing the Plugin
- Step 1: Log in to your Cartsera account and go to Licensing
- Step 2: Download the plugin
- Step 3: Log in to your WordPress website
- Step 4: In the Plugins menu, click Add New Plugin
- Step 5: Click Upload Plugin at the top of the screen
- Step 6: Upload the plugin and click Install Now
- Step 7: Click Activate Plugin
- What’s next?
- Plugin details